How to Install
System Requirements
Hardware
Maschine MK3 or Maschine+ (with latest version firmware)
Software
Ableton Live 11: Version 11.3 or later (all editions)
Ableton Live 12: Version 12.1 or later (all editions)
Setup Guide
1. Download Script from GitHub
Download ZIP file from Releases section on GitHub repository.
2. Import Template into Controller Editor
Before doing things about Ableton Live, You need to import template.
Open Native Instruments Controller Editor and select device on left-top menu.
Once device showed up, click Edit > Open in right sidebar.
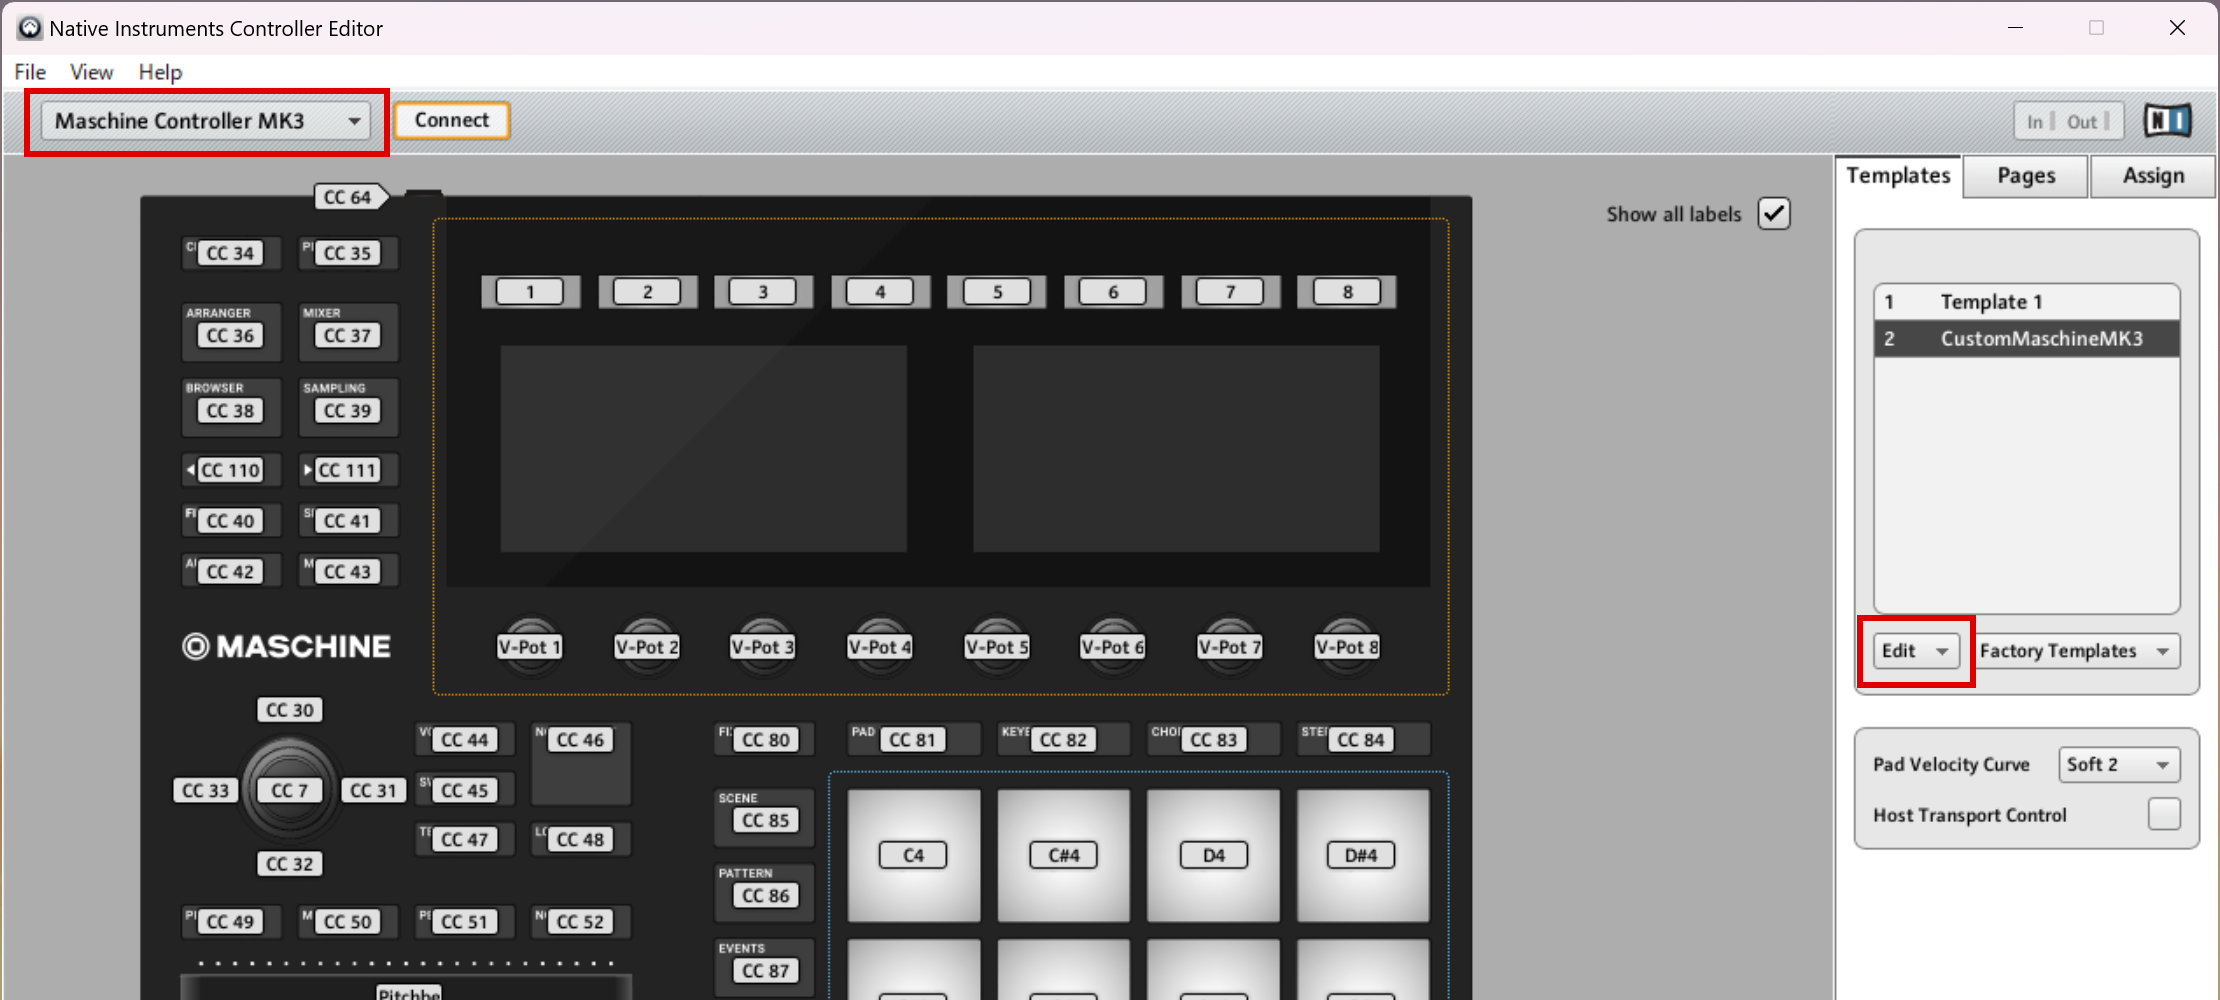
Select template file in Template folder depends on your device what you use.
If you use Maschine MK3, select CustomMaschineMK3.ncm3.
Or if you use Maschine+, select CustomMaschinePlus.ncmp.
Click imported template to activate and close the Contoller Editor.
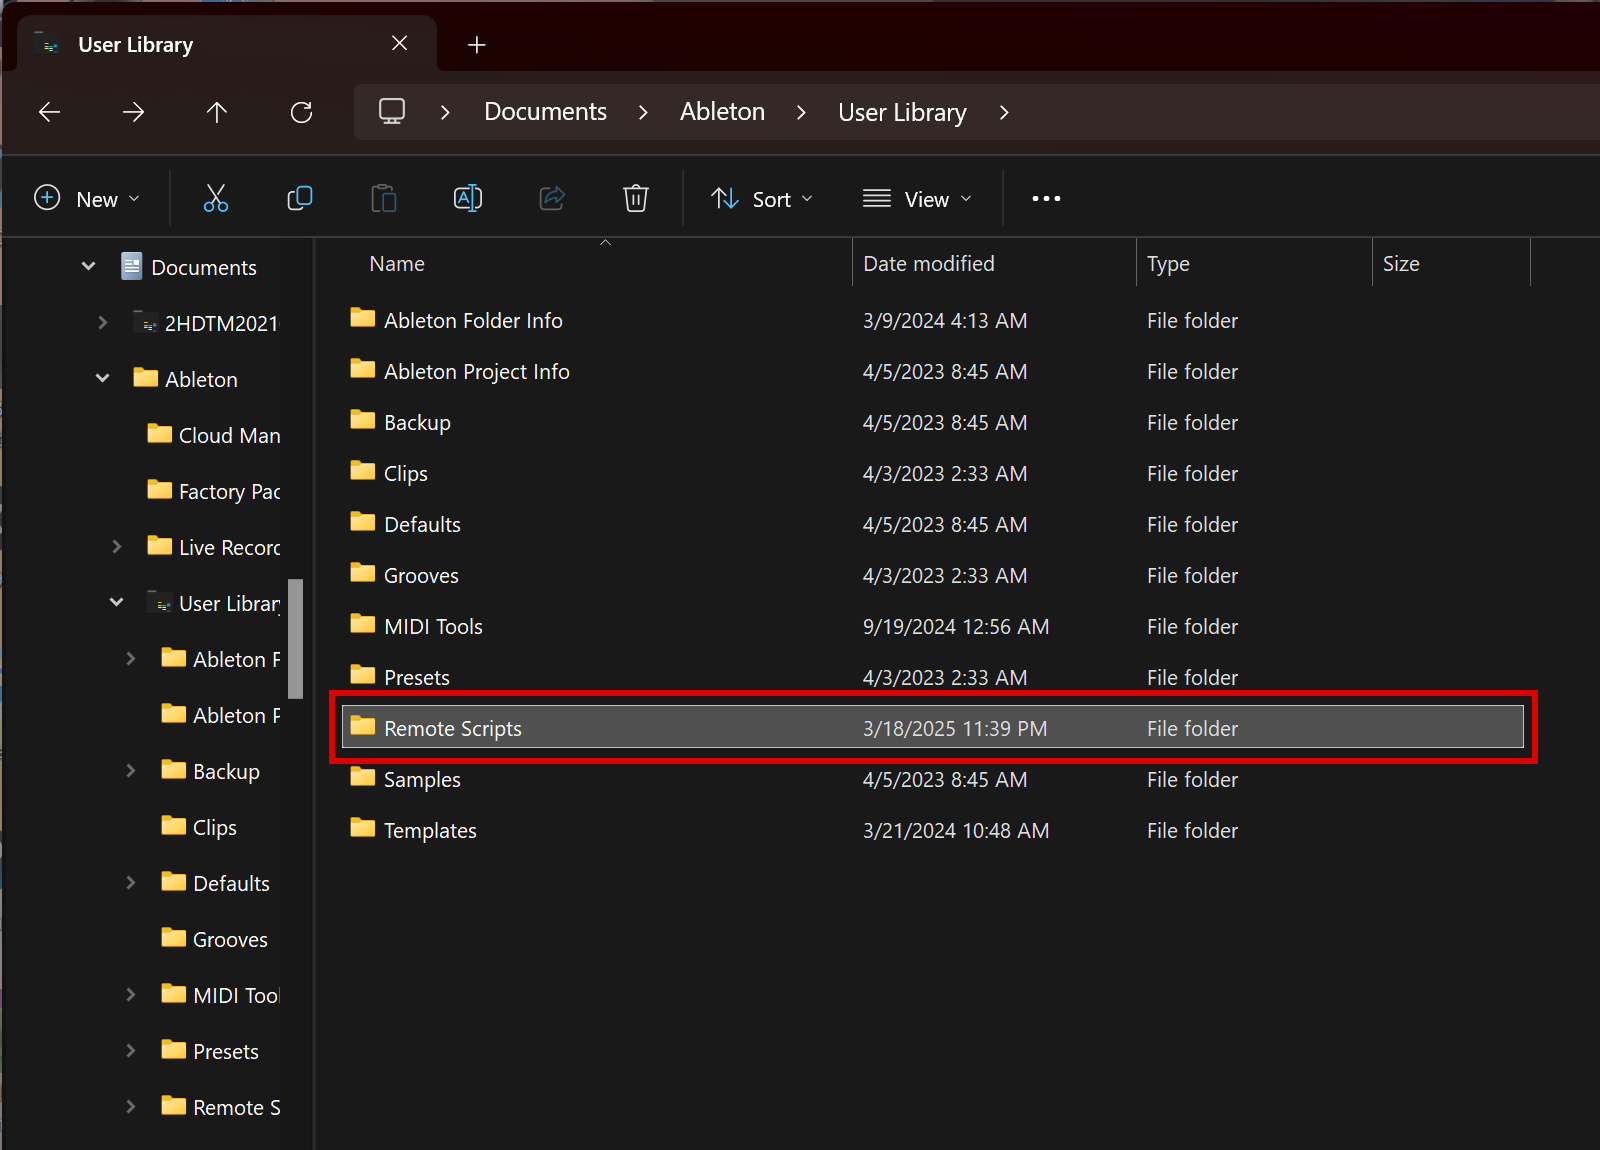
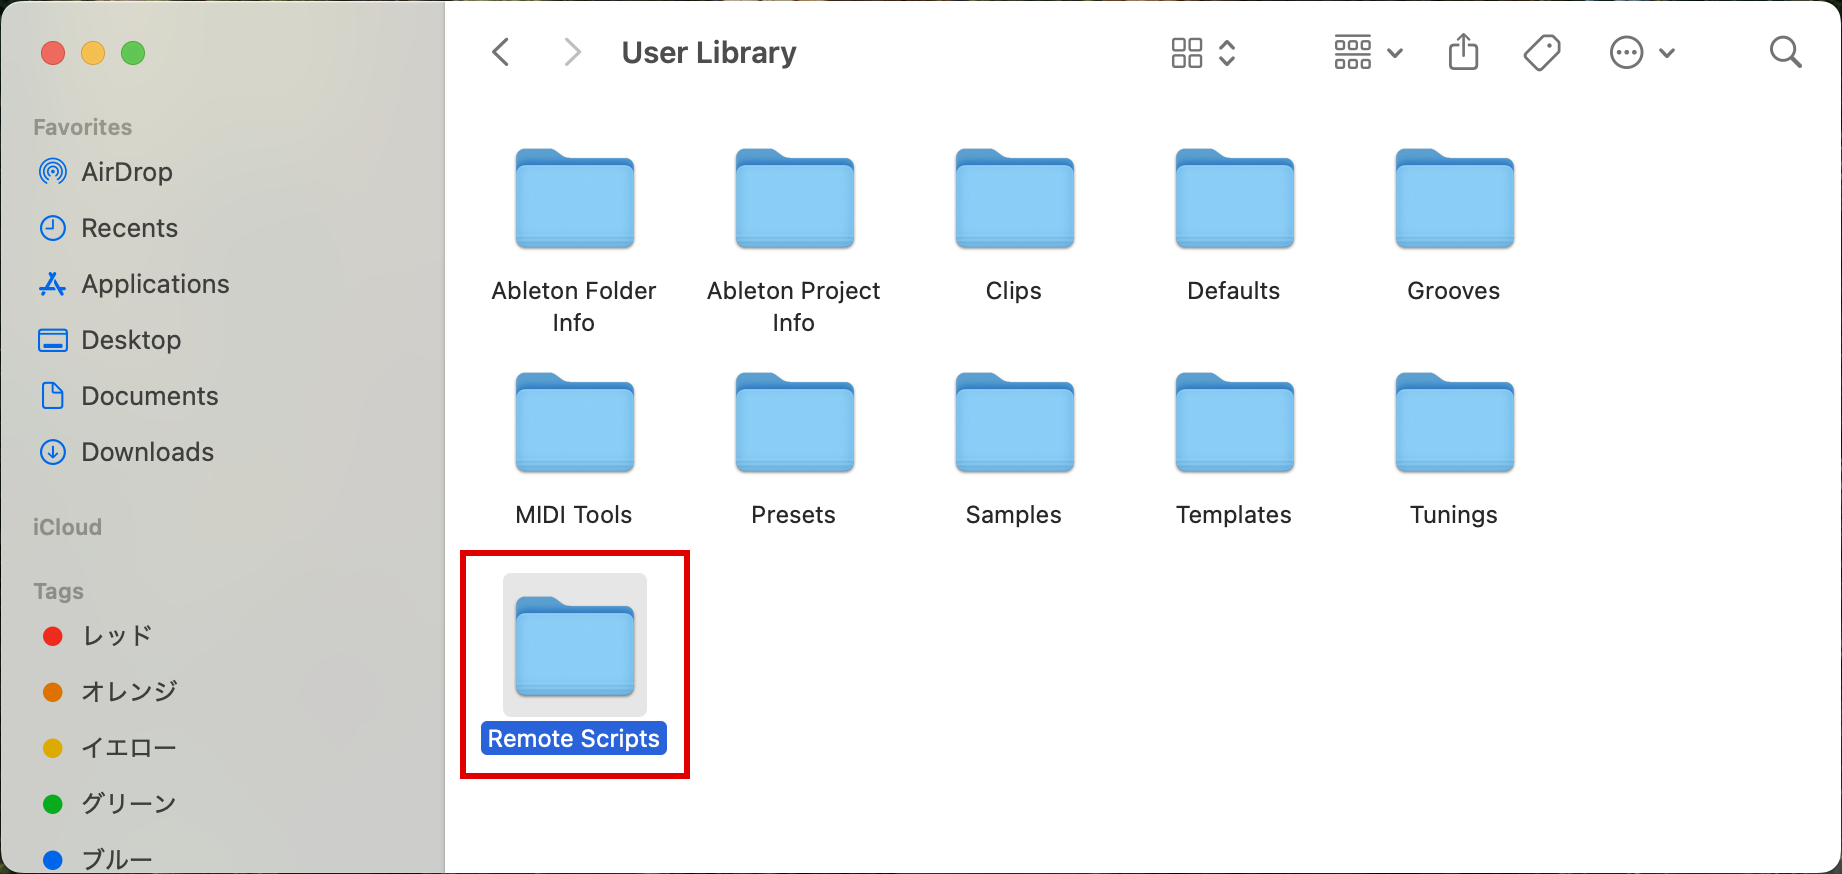
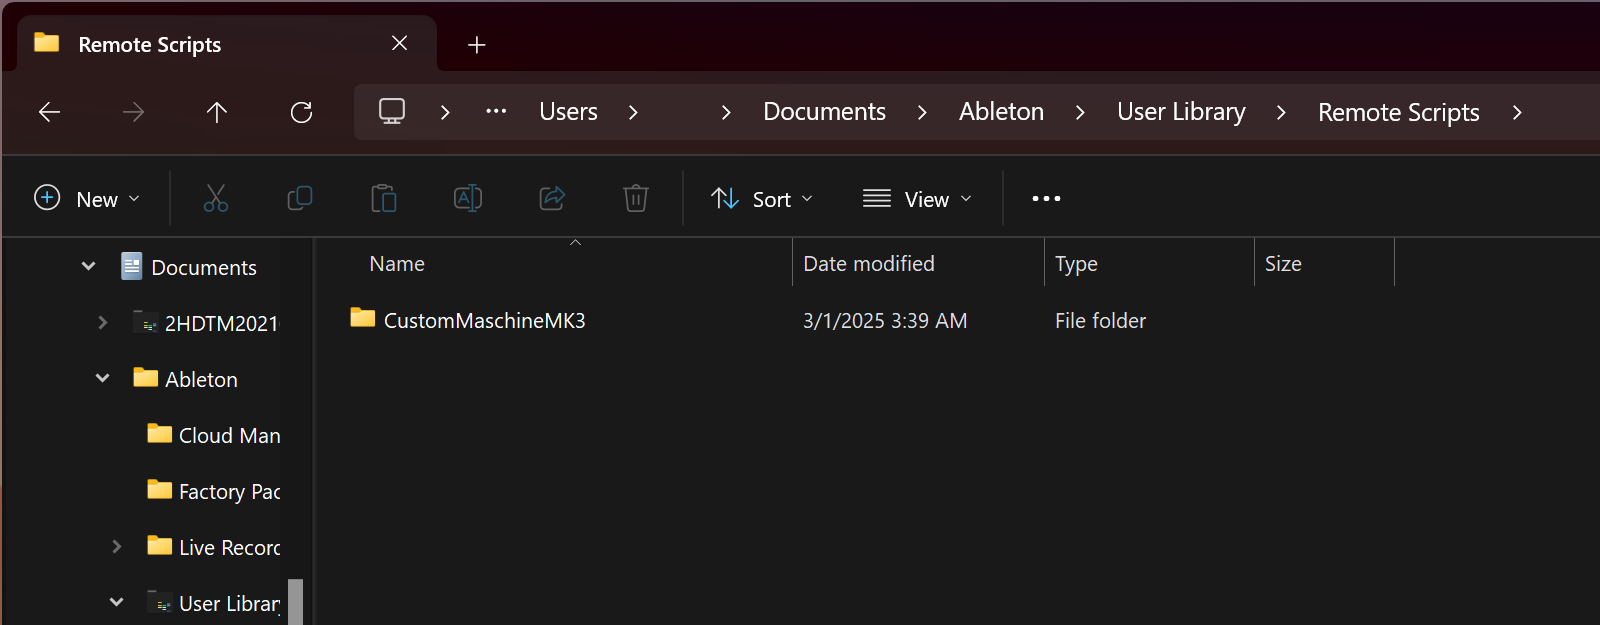
3. Create Remote Scripts Folder
Create a new folder called Remote Scripts in your User Library folder.
Windows
Default location is C:\Users\[username]\Documents\Ableton\User Library
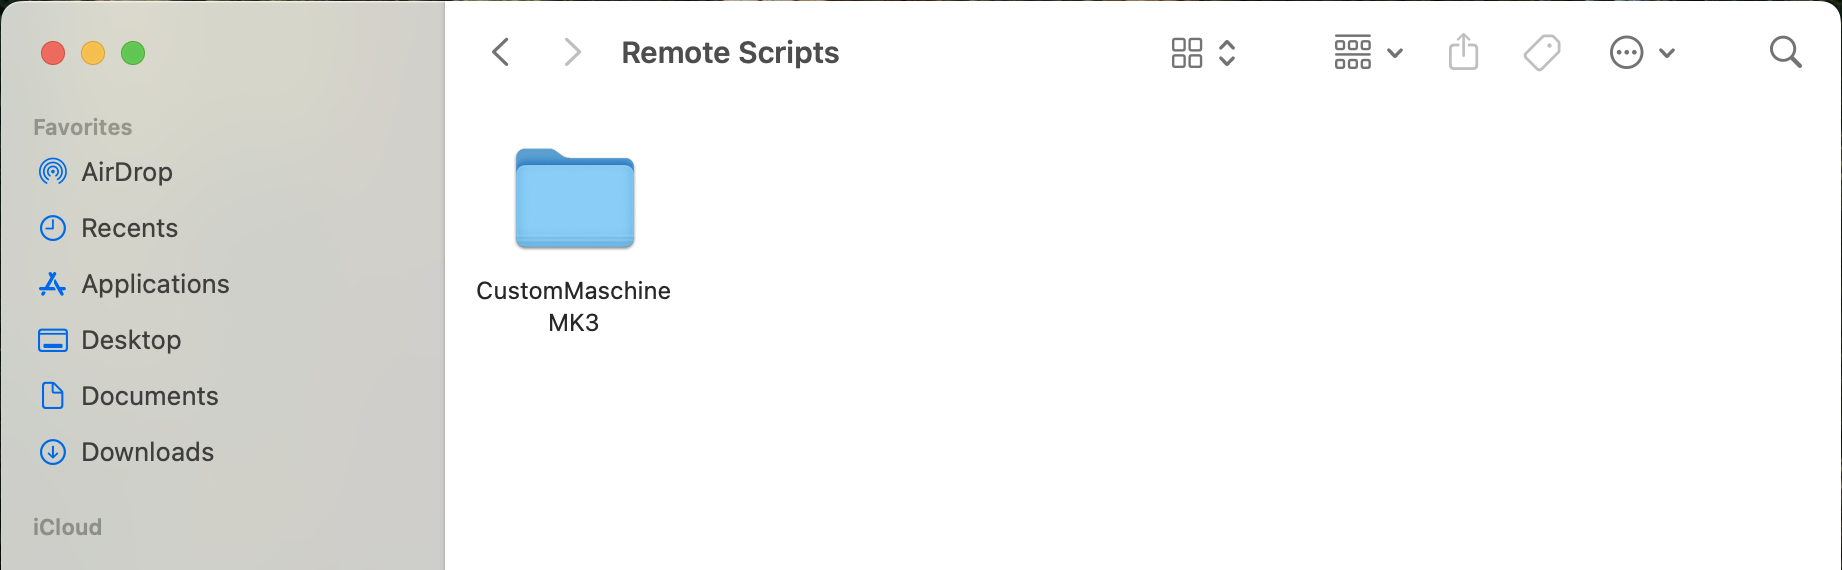
Mac
Default location is Macintosh HD/Users/[username]/Music/Ableton/User Library
4. Copy Script Folder
Copy CustomMaschineMK3 folder into Remote Scripts folder created in previous step.
Windows
Mac
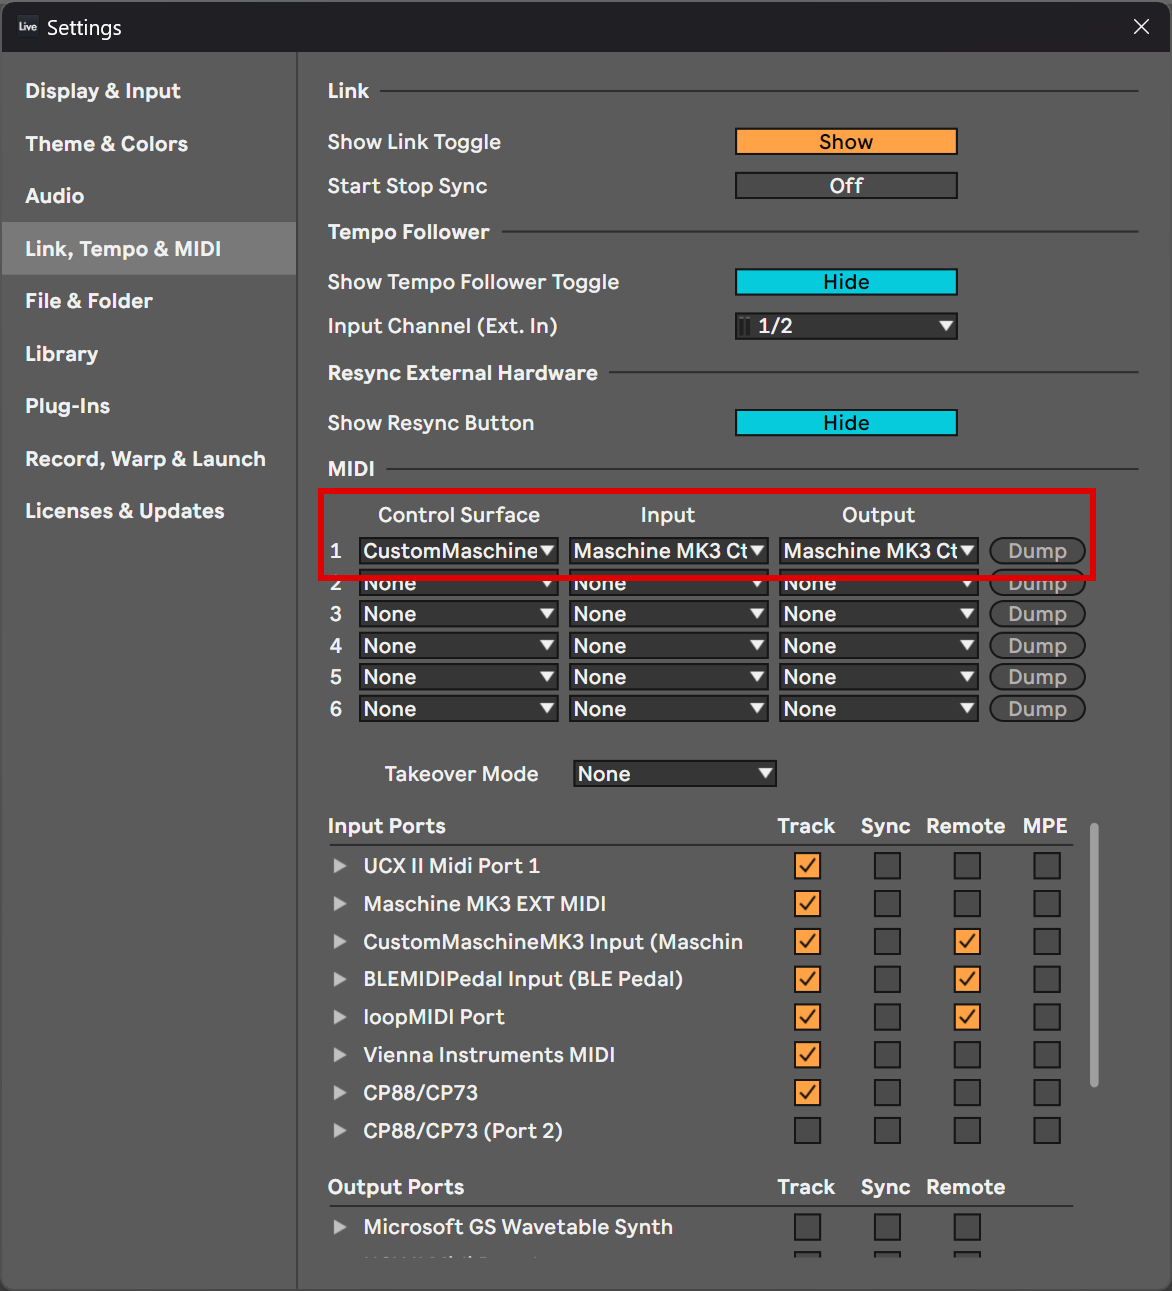
5. Setup Control Surface on Ableton Live
Turn on your Maschine and enter to MIDI mode.
On Maschine MK3, just press SHIFT + CHANNEL to enter MIDI mode.
If you use Maschine+, you have to switch to Controller Mode first.
How to Switch to Controller Mode on Maschine+
After switching to Controller Mode, press SHIFT + CHANNEL same as Maschine MK3.
Open Settings window on Ableton Live and navigate to "Link, MIDI & Tempo" tab.
Select CustomMaschineMK3 from Control Surface drop down menu.
Select Maschine MIDI ports as Input and Output ports.
On Windows, actual port name is Maschine MK3 Ctrl MIDI.
On Mac, actual port name is Maschine MK3 Virtual Input(Output).
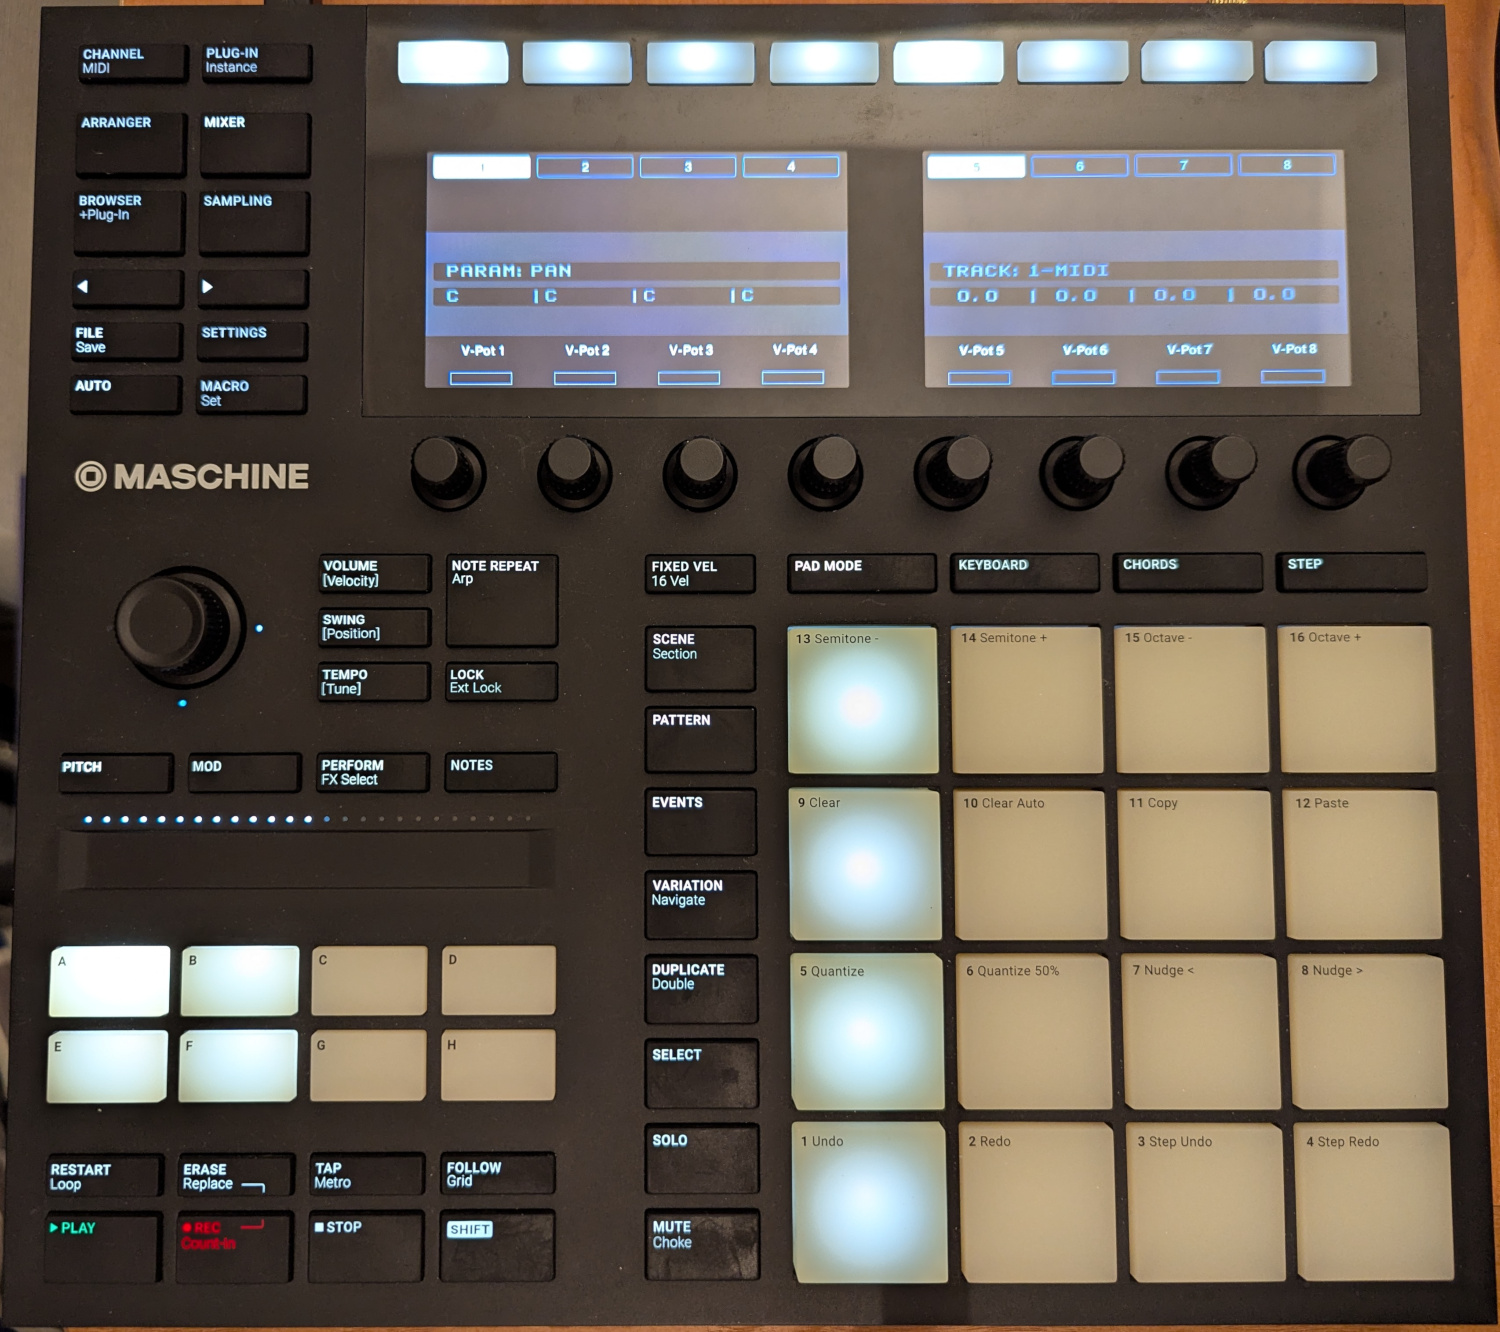
6. Enjoy Your Session
LEDs and displays show up like this picture if you have done these steps properly.